Indigenous Navigator Portal: Tutorials
Tutorials for navigating the Indigenous Navigator's Global Portal
Create a user:
Create a submission:
In this video, we walk through the steps to create a submission. Pre-requisites: You have created a user account, and are logged in at
Once logged in, you navigate to: https://indigenousnavigator.org/indicator-survey/overview
An introduction to the process:
Finding the right data
The data needed, particularly for the National survey, to answer the questions may be available from public authorities (i.e. laws, public policies, administrative guidelines, official statistics including court statistics, jurisprudence etc.) and other third parties such as UN human rights treaty bodies, civil society organisations, researchers, media, national human rights institutions etc. However, in recognition of the lack of disaggregation of data for Indigenous Peoples, for certain questions, data might not be publicly available or scattered across different institutions and challenging to aggregate. Ways to increase access to data include:
- reaching out with specific questions to various institutions and expert organisations
- submitting Freedom of Information requests to relevant public institutions
- conducting original research to generate new data on under-explored topics.
The absence of data on certain topics is an important finding in and of itself and can be used to identify future research and data collection needs and opportunities.
To ensure data validity, it is essential that specific references to sources used are included where the field labelled References has been added. These references should be detailed enough to enable a reviewer or reader to refer to the specific document on which the response is based.
Step by step use of the tool
- Create an account and wait for approval. To fill in the questionnaire you need to create an account. Everybody can use this tool, but before you can start we will have to approve your account. This serves to protect the validity of the portal, and prevent spam.
- Create your submission. When your account is approved, you will be notified that you can create your own submission. When you log in, the button to create your submission will appear.
- Publication. When creating the submission, you are asked to indicate whether you agree with the publication of your answers in the future data portal. It is also possible to decide this later after you’ve explored the questionnaire. Remember that this decision requires community consent and FPIC when conducting the community surveys.
- Assign co-respondents and a reviewer.
- As a Respondent, you will carry out the necessary research or document review to complete the questionnaire. You can add co-respondents from your or another organisation so that more than one individual can fill in the survey. Ideally, the co-respondents should be asked to work on select parts of the questionnaire in line with their area of expertise.
- Assigning a Reviewer is mandatory if you want to upload your data to the portal. The Reviewer must be somebody else than the Respondent and/or co-respondent but may be from the same institution. Their role is to peer review the responses. It is important that the reviewer checks the accuracy of the response, ensures that responses include the needed specific reference, and critically assesses the reason for which certain questions were skipped. The reviewer can include their comments. It is only after the reviewer’s comments are addressed that the data can be submitted.
- **Data that has not undergone such a quality assurance and peer review cannot be published in the future data portal. It is possible to add co-respondents and reviewers even after you started filling in the questionnaire.
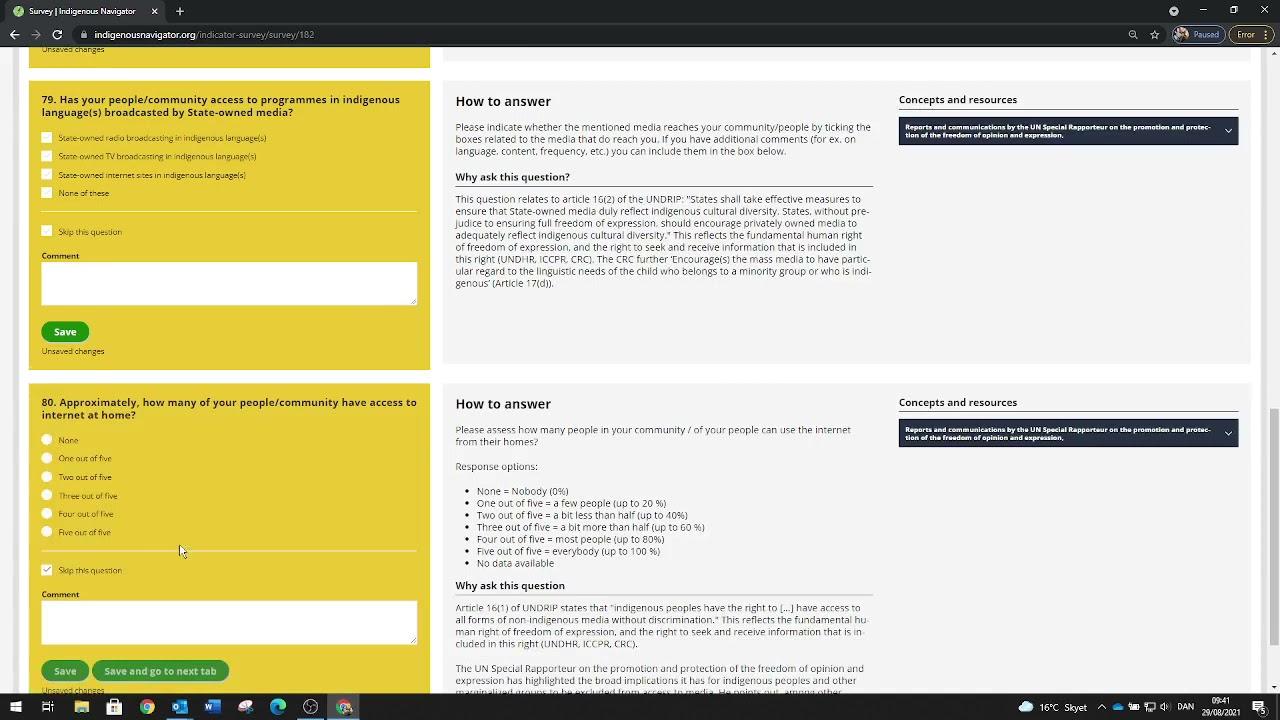
- Fill in answers. Fill in your answers to the questions under each of the domains. Click on each domain heading to go to the data entry pages. The questions can be answered in any order you choose.
- Use the comment and references boxes. Below each question there is a comment and reference box. The comment box gives you the opportunity to justify/explain your answer and add clarifications/observations to contextualise the response option selected.
- The reference box should be used for specifying the sources that were used to answer the question (e.g. a law, a policy, statistics, academic reports, etc). Where available, include a link to the respective source. Remember to fill in references for all the answers.
- Download your answers. You can always make a PDF of the questionnaire as you are filling it in. This function can be useful if you want to work offline, share your responses with a colleague or share it with partners that might have additional expertise regarding the topics covered.
- Submit for review. When you have filled in all answers, you must Submit your responses for Review. Once you press the “Submit for Review” button, your designated reviewer will receive a notification that the assessment is ready for review.
- Revise answers and re-submit. If the designated reviewer finds that some answers need revision you will receive an email. You will then need to enter the site again and edit your responses. Please submit your answers for review again by pressing the “Submit for Review” button.
- Download final report. When all answers have been approved by the reviewer you will be able to download a final report that summarizes your responses. You can return and download a new final report at any time.
Contact
